How to Repair & Update a Fake Stone Wall
I just moved into my new home 2 months ago and am tackling the entire house bit by bit to turn it into a retreat center. This project ended up being bigger than I thought, but in case you are wondering how to update and old (fake) stone wall or fireplace, here’s what I worked for me and what I learned along the way.
Here’s what the room originally looked like:
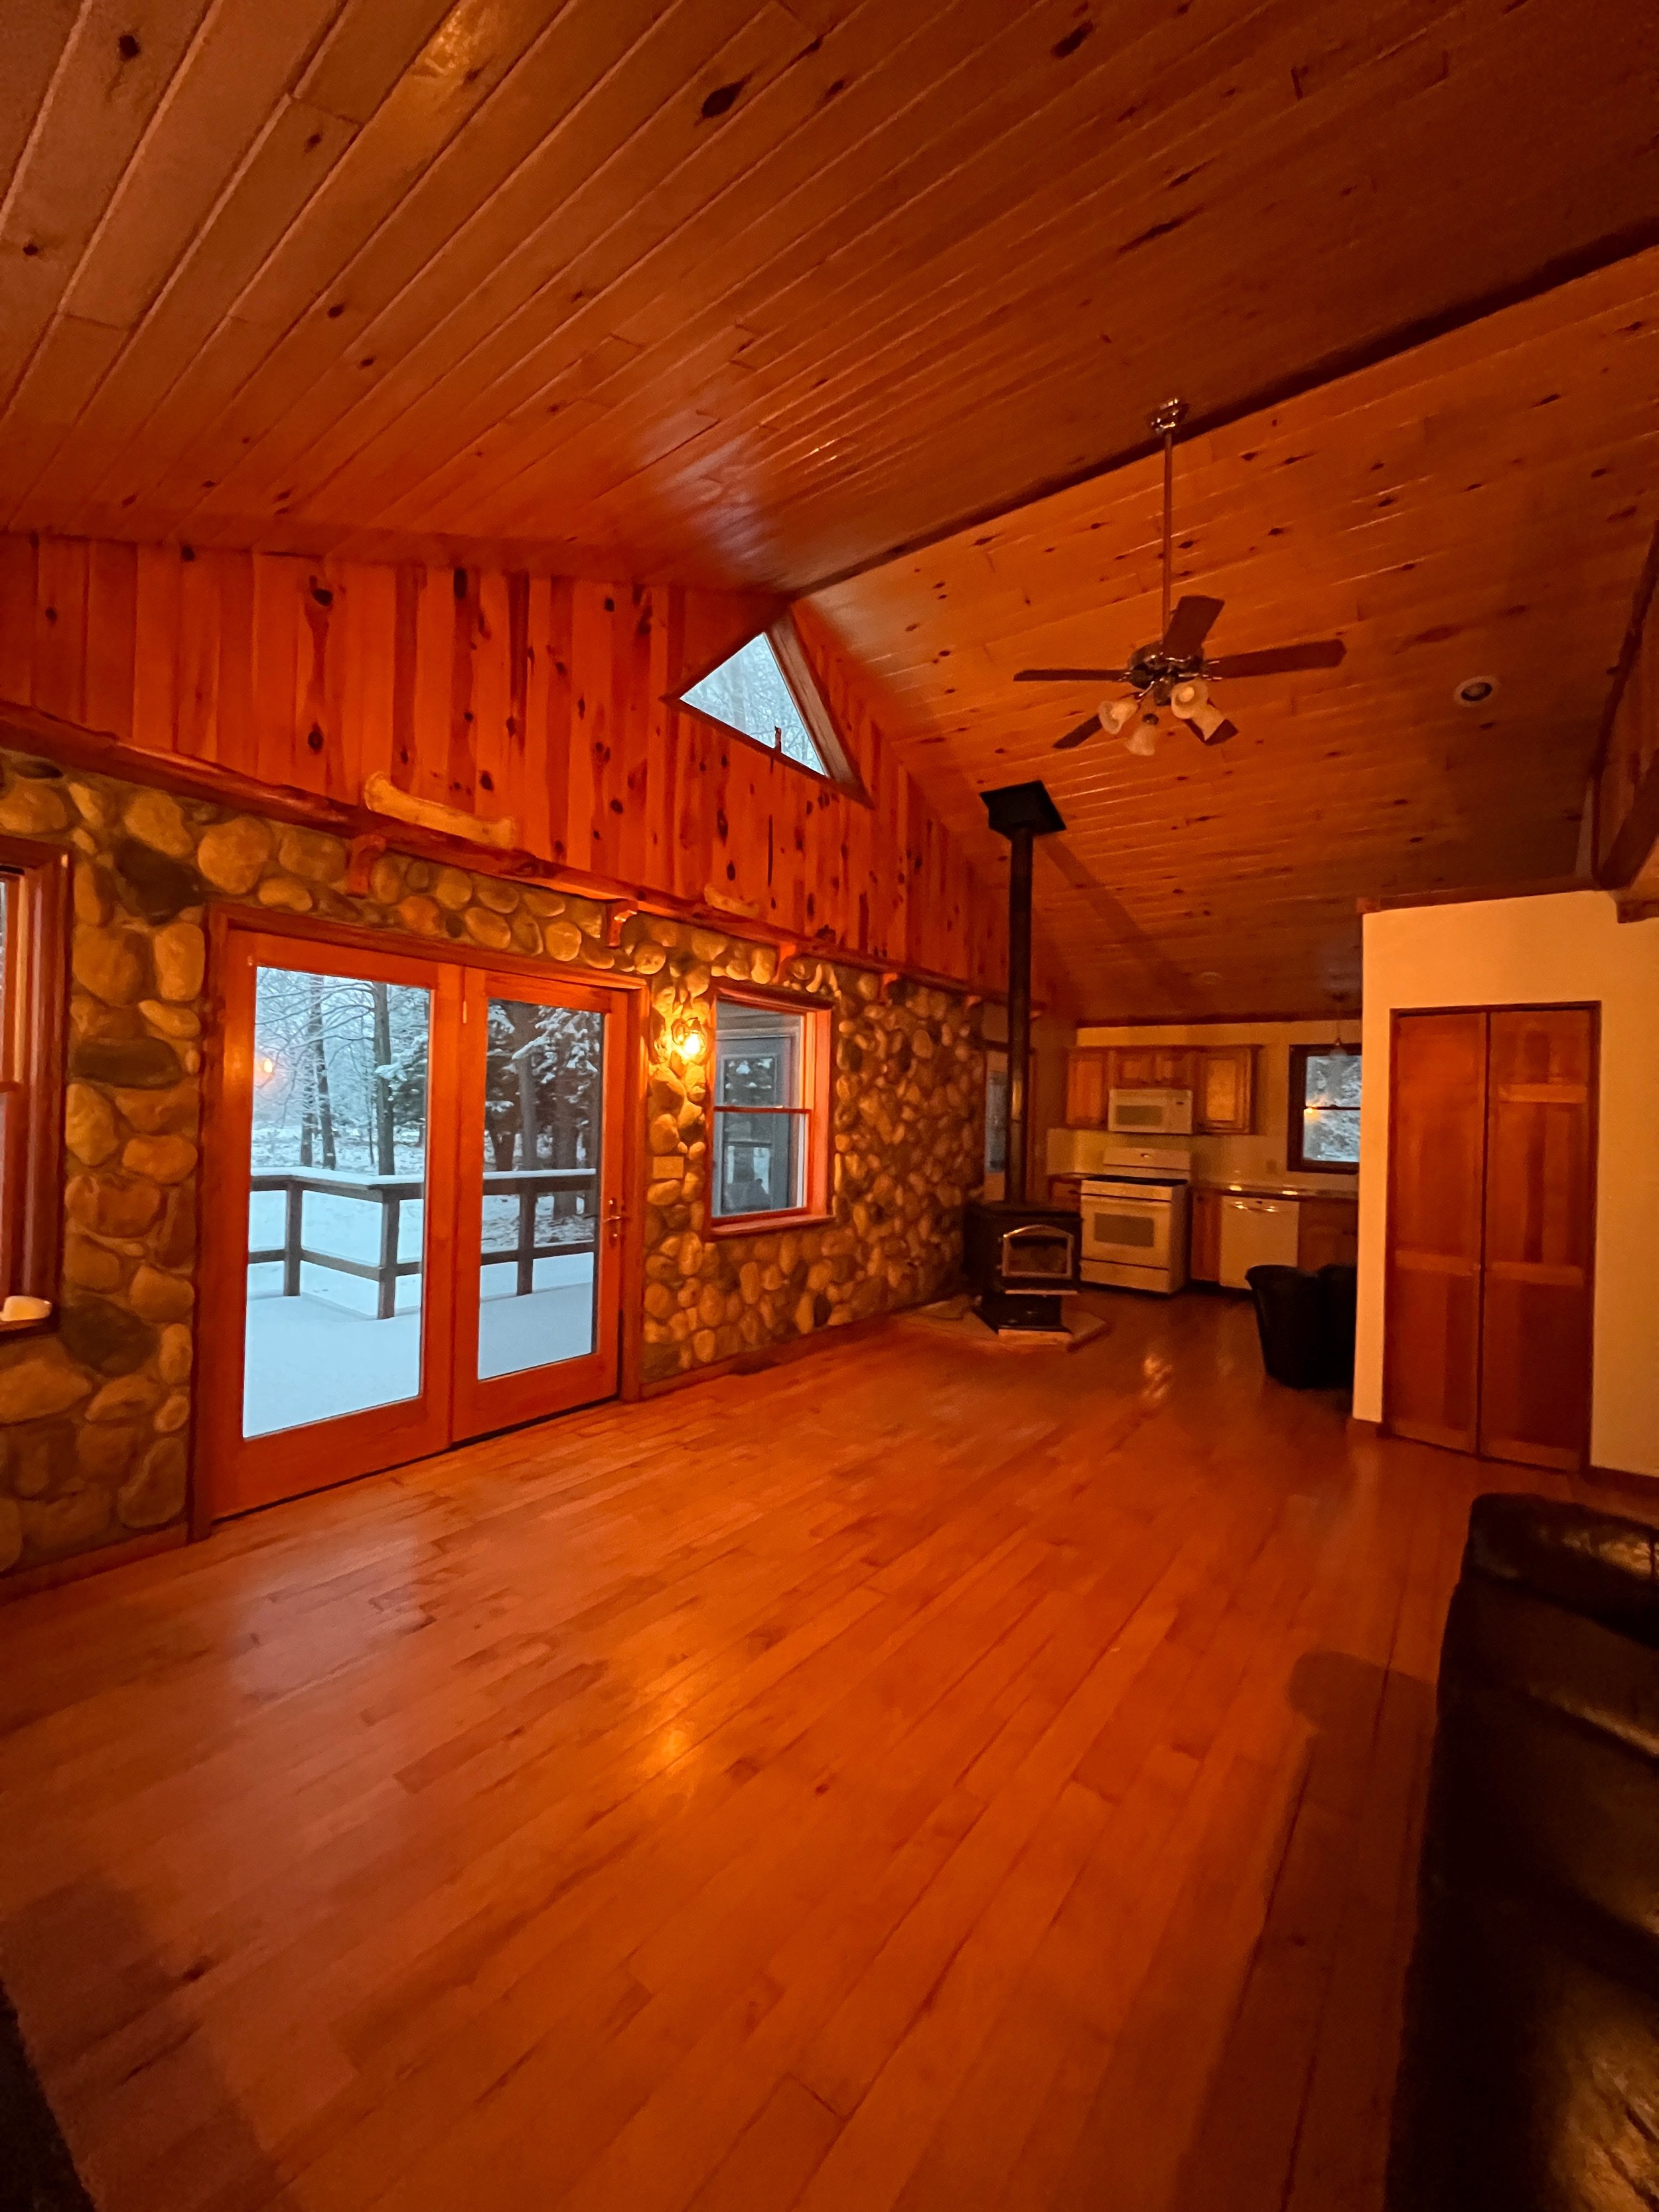
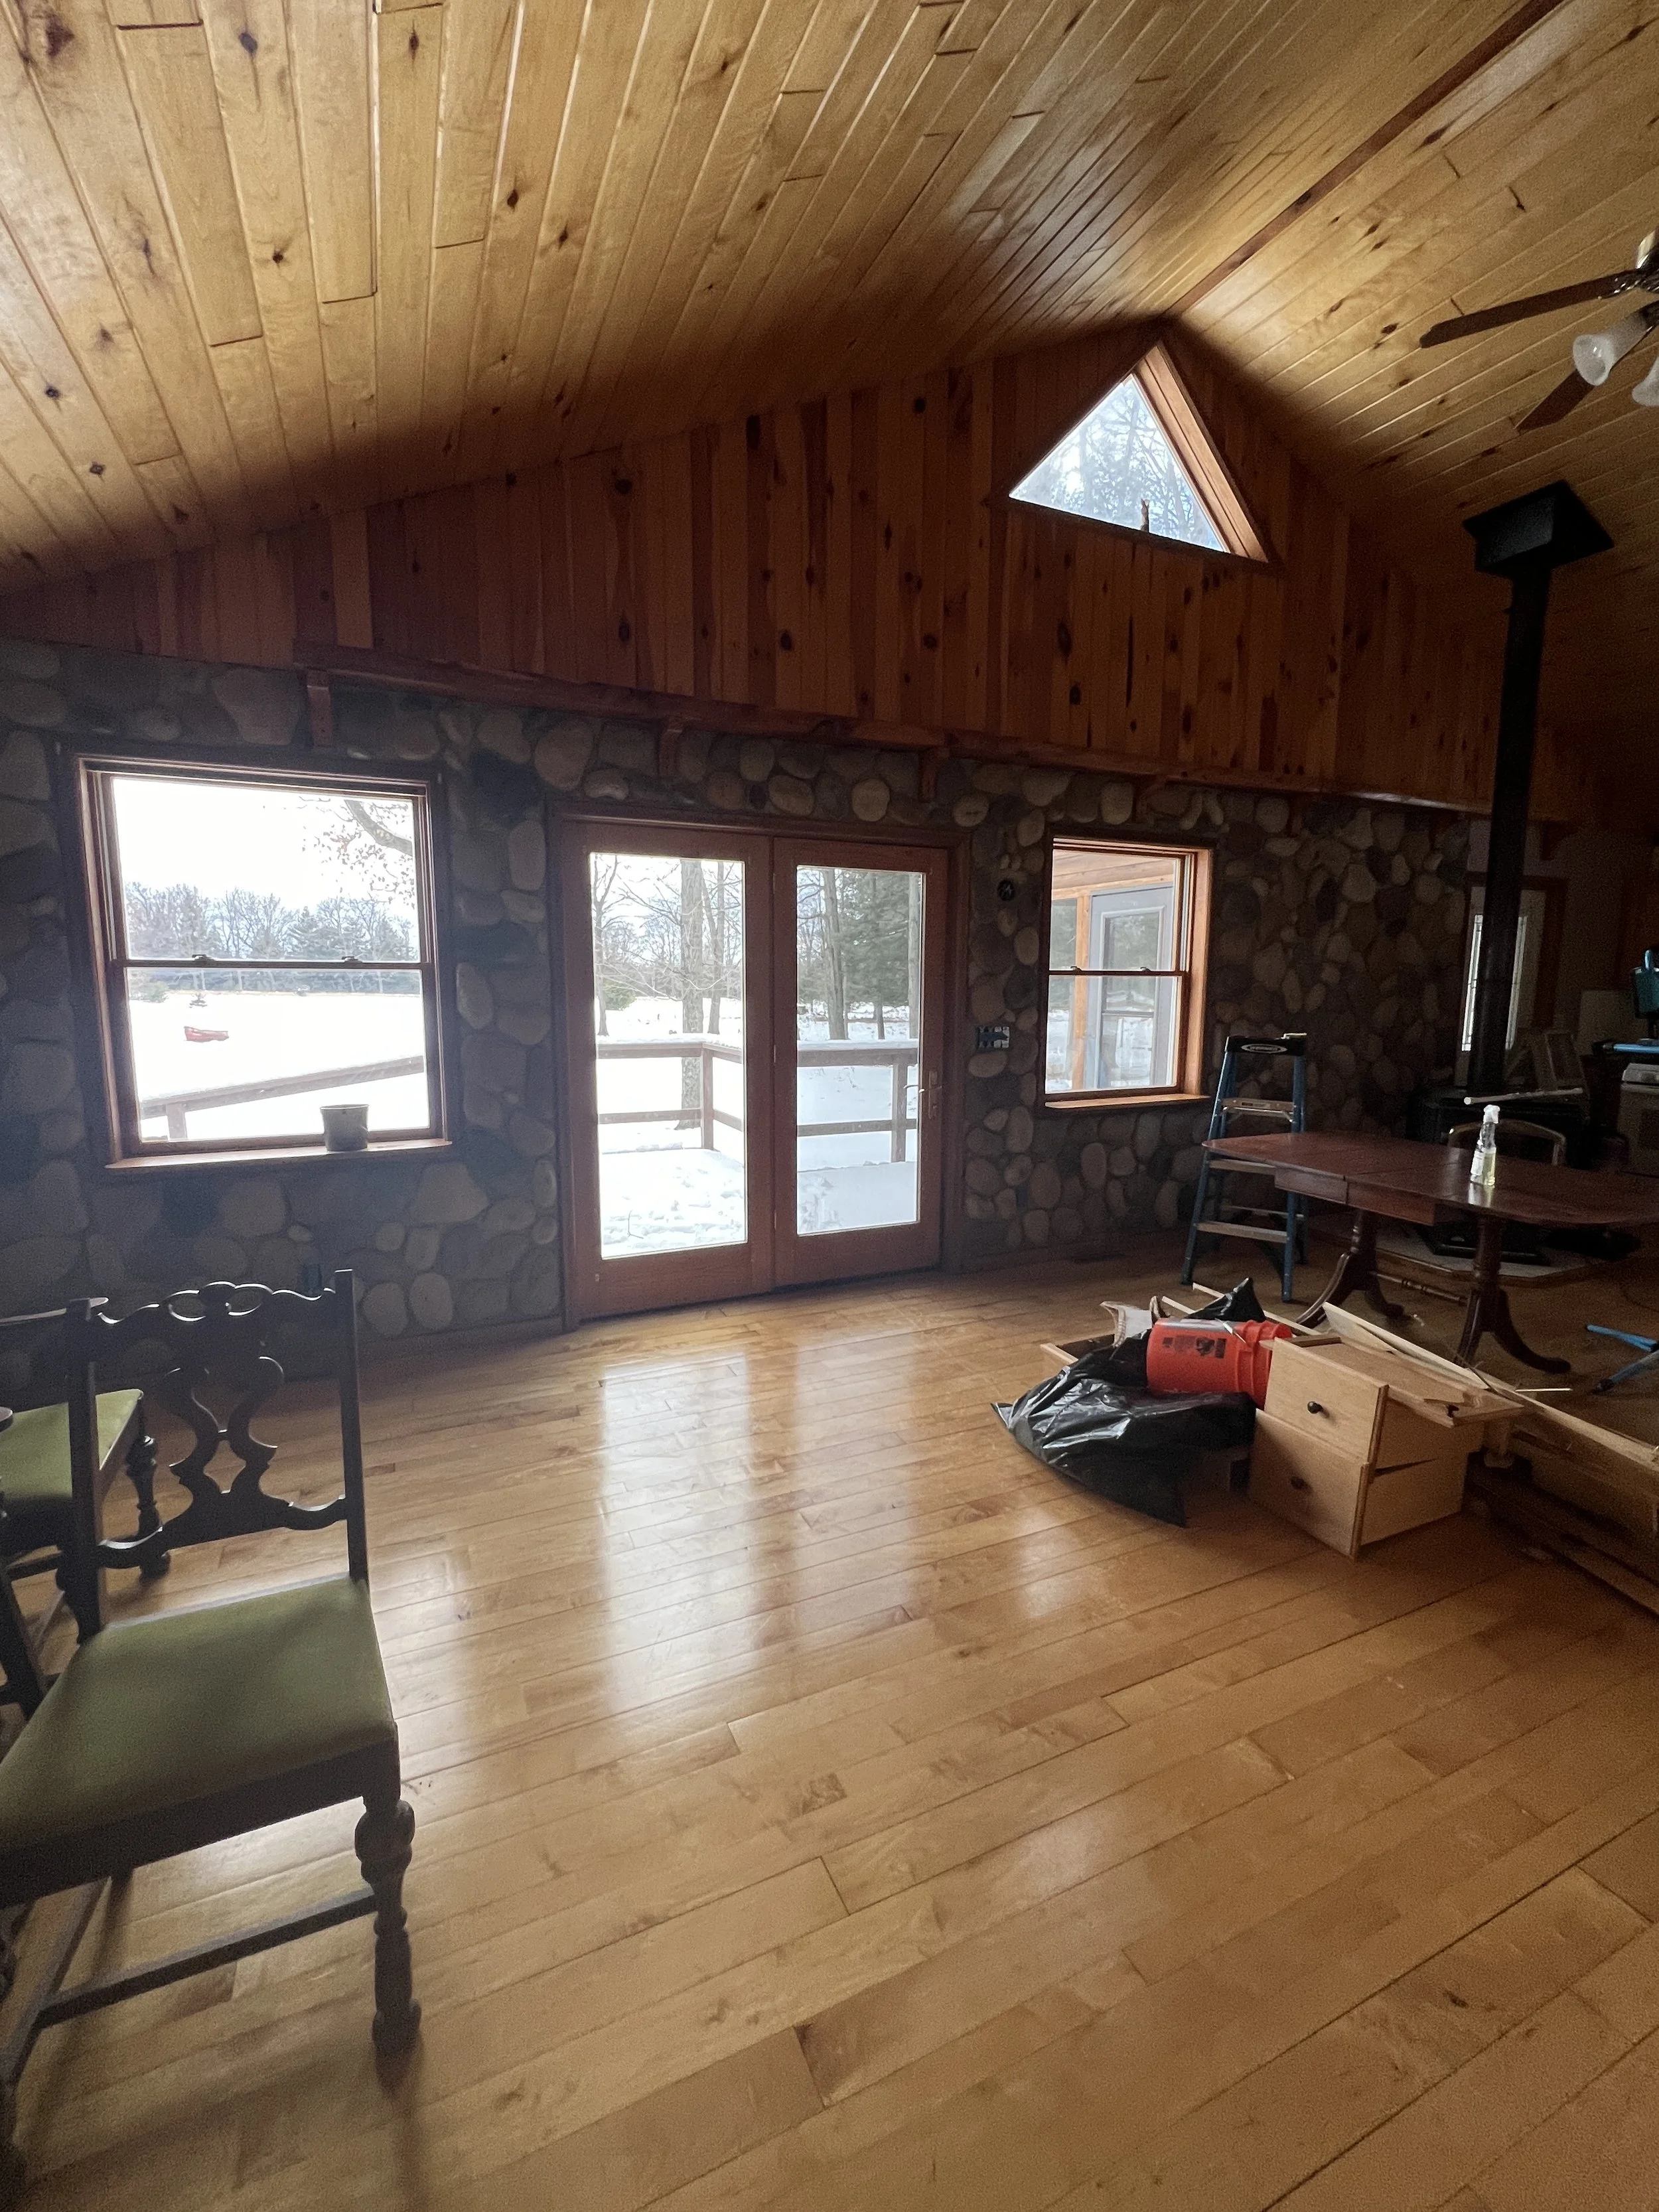
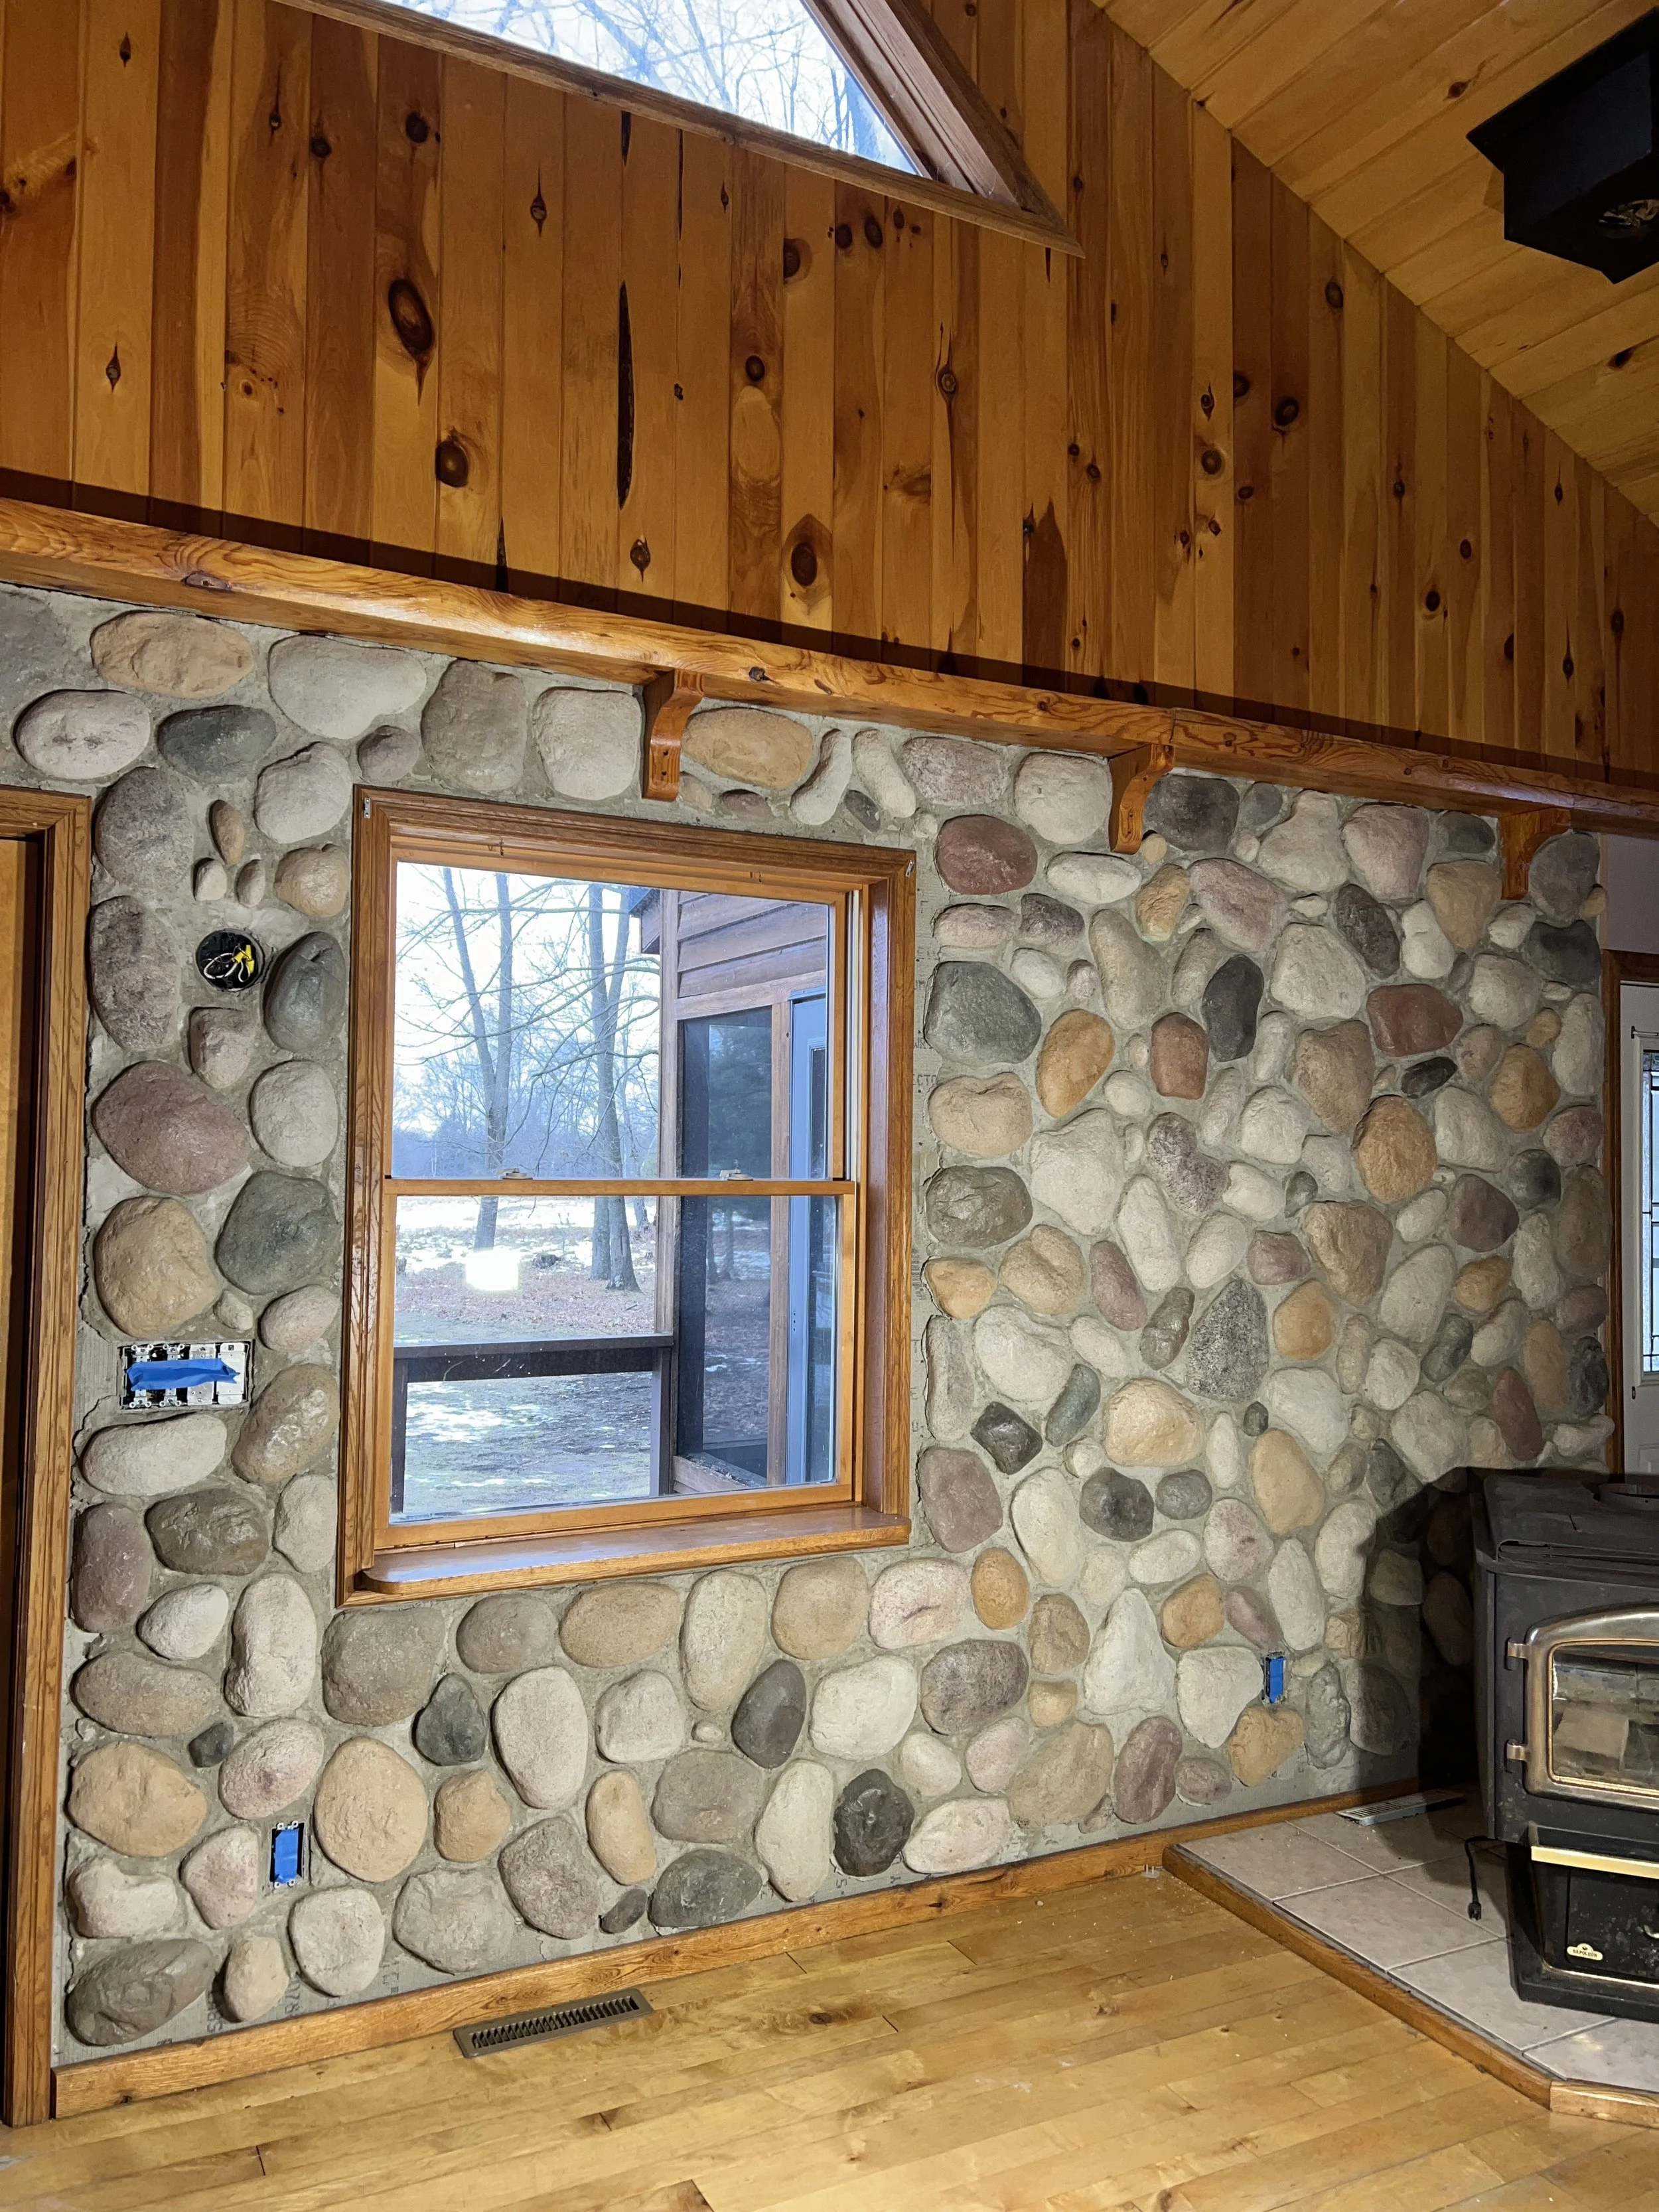
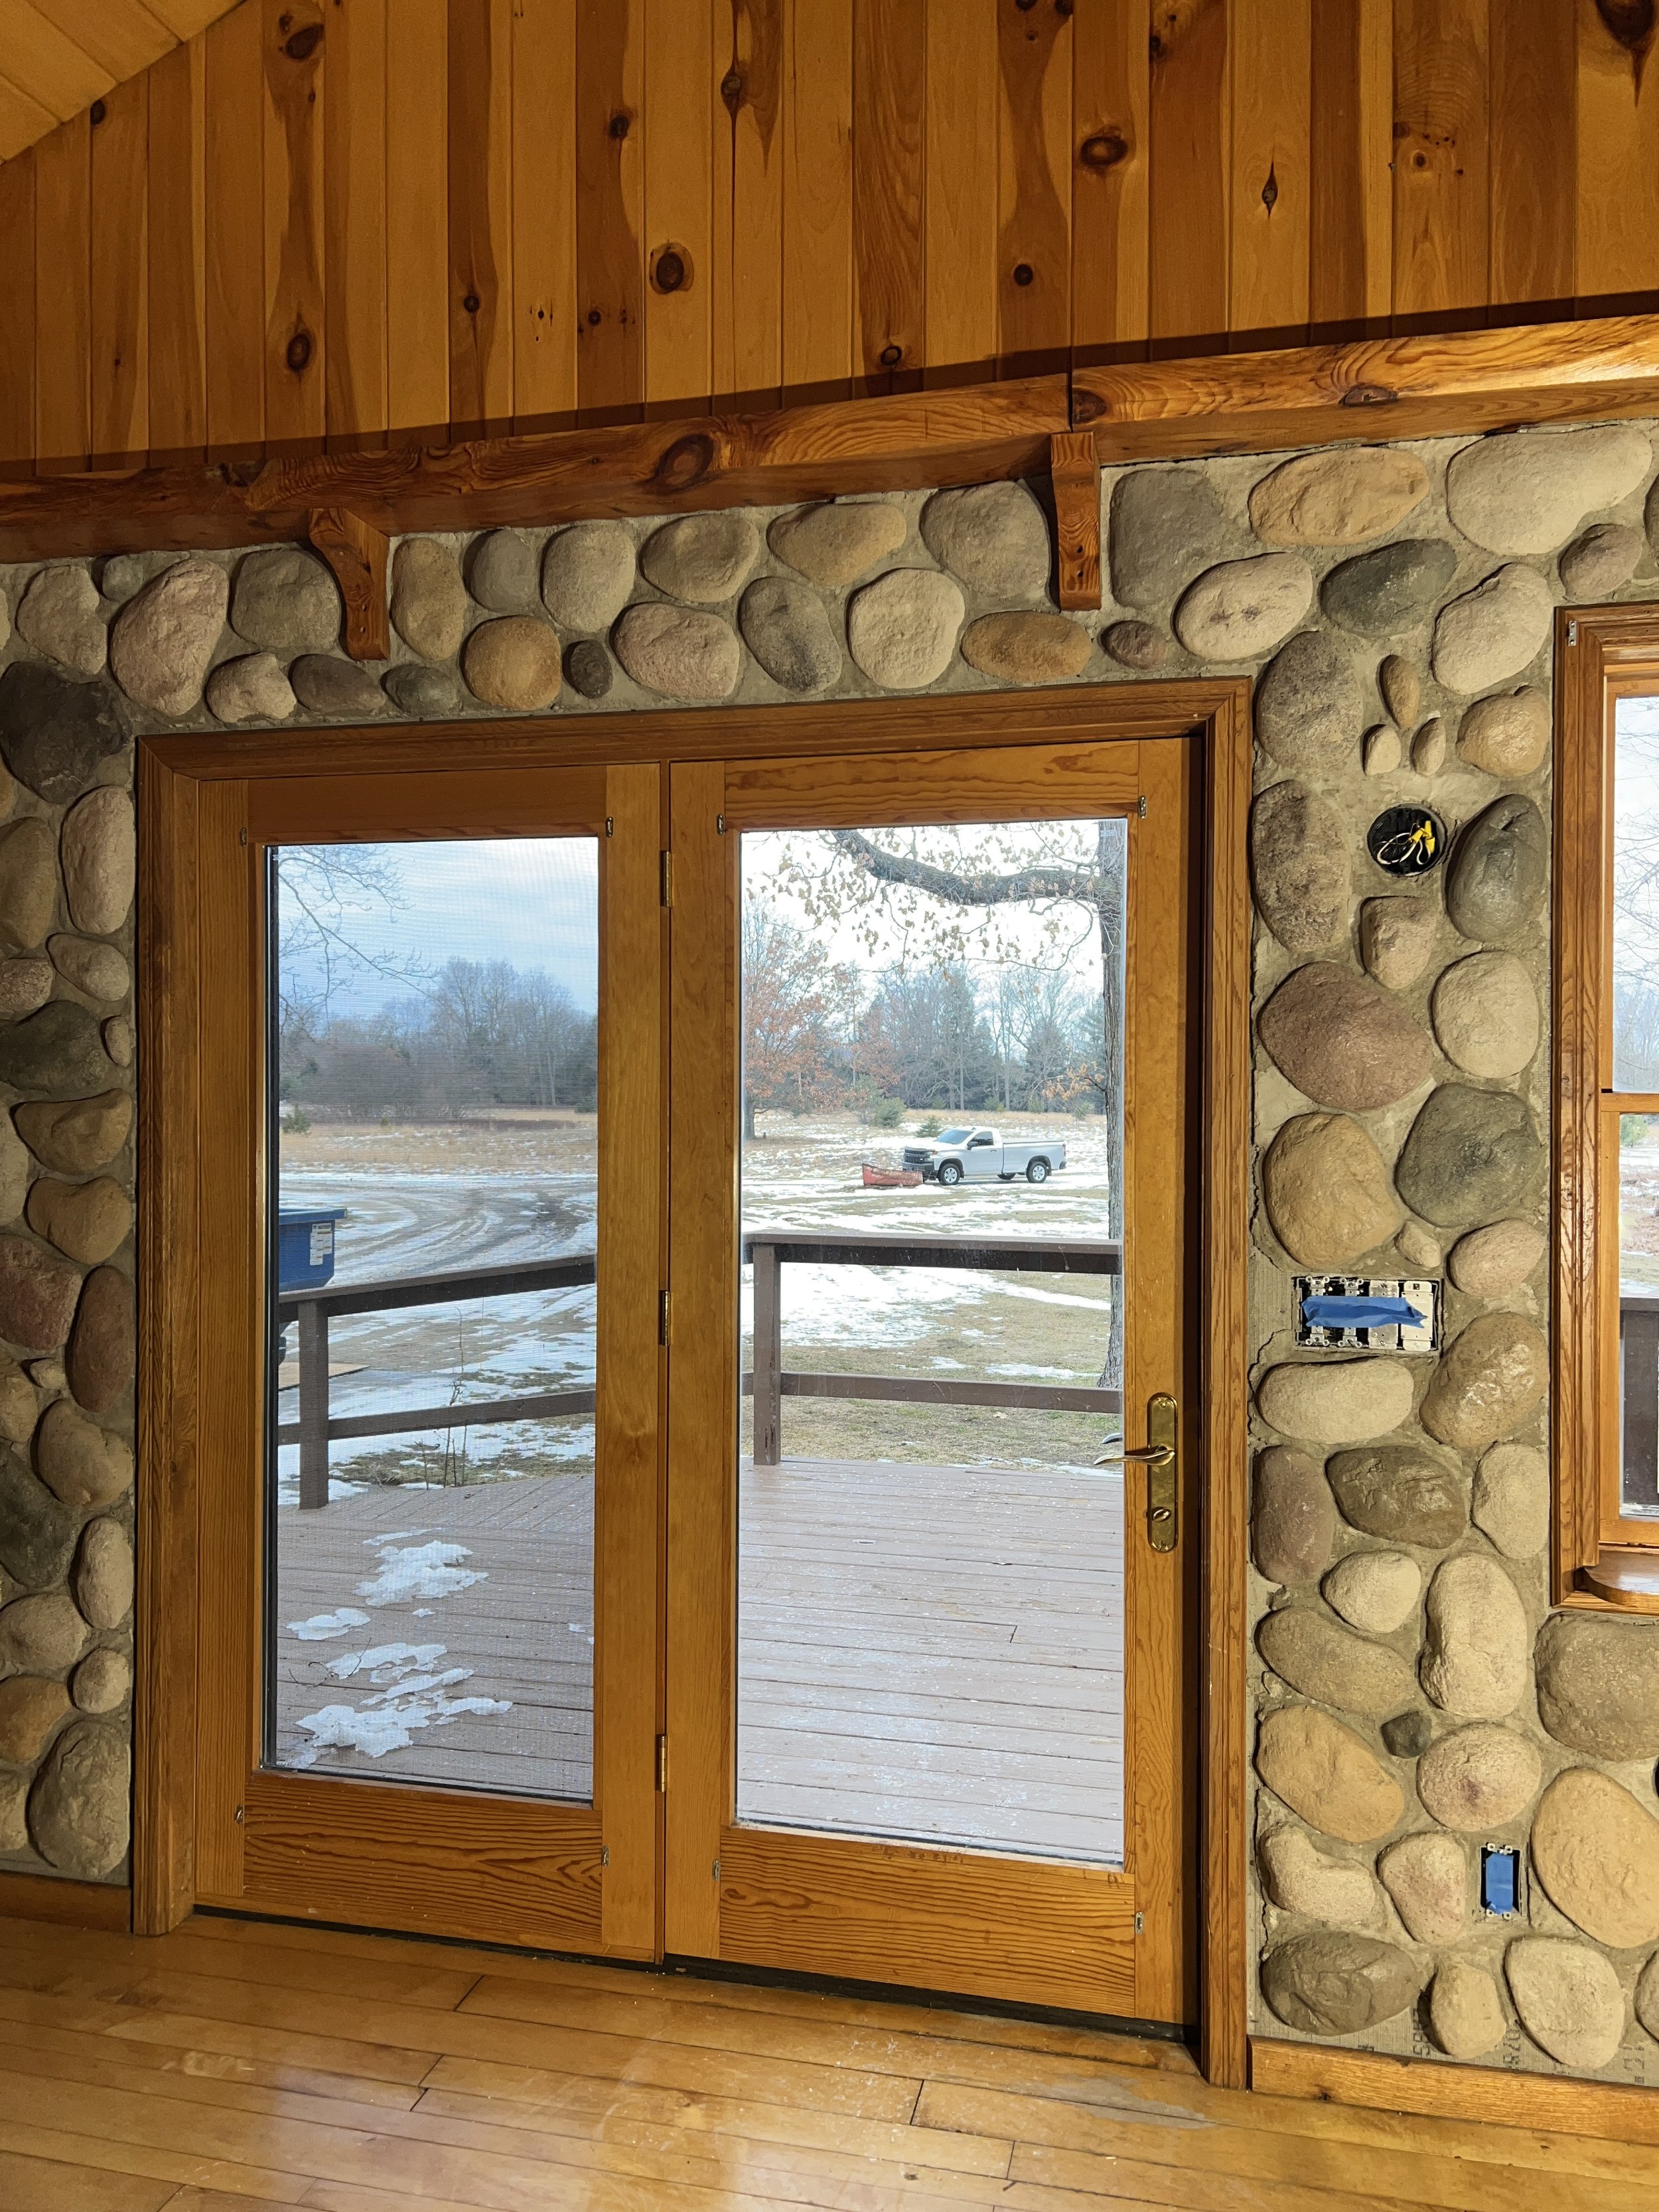
It’s hard to capture how the wall truly looked with the back lighting, but you can tell that the stones were a variety of darker colors and it was missing a lot of concrete around the edges. I also felt like it was making the entire space look darker and trapping the light, so I looked into options for painting it, etc. After researching, I decided to go with a Venetian Glaze to essentially white wash the stones lighter without losing the bits of contrast in the preexisting colors.
When I originally planned this project I though I could get right to white washing, but after cleaning and inspecting the concrete I realized I couldn’t leave the edges the way they were, so the project began! I enlisted the help of my friend Molly and we got to work.
Prep:
Since this is an interior wall, I obviously couldn’t power wash it. So I vacummed the dust and grime off the best I could with a brush attachment, and then used a water, soap, and vinegar mix to wipe the stones and grout. I didn’t realize how dirty they were until I looked more closely, especially behind the stove!

After I got them cleaned up, they looked way better but still not the look I was going for. (this photo is with an LED floodlight, the wall never actually looked this bright)

After cleaning, Molly arrived and we did some basic taping, put down drop cloths, and then the real fun began.
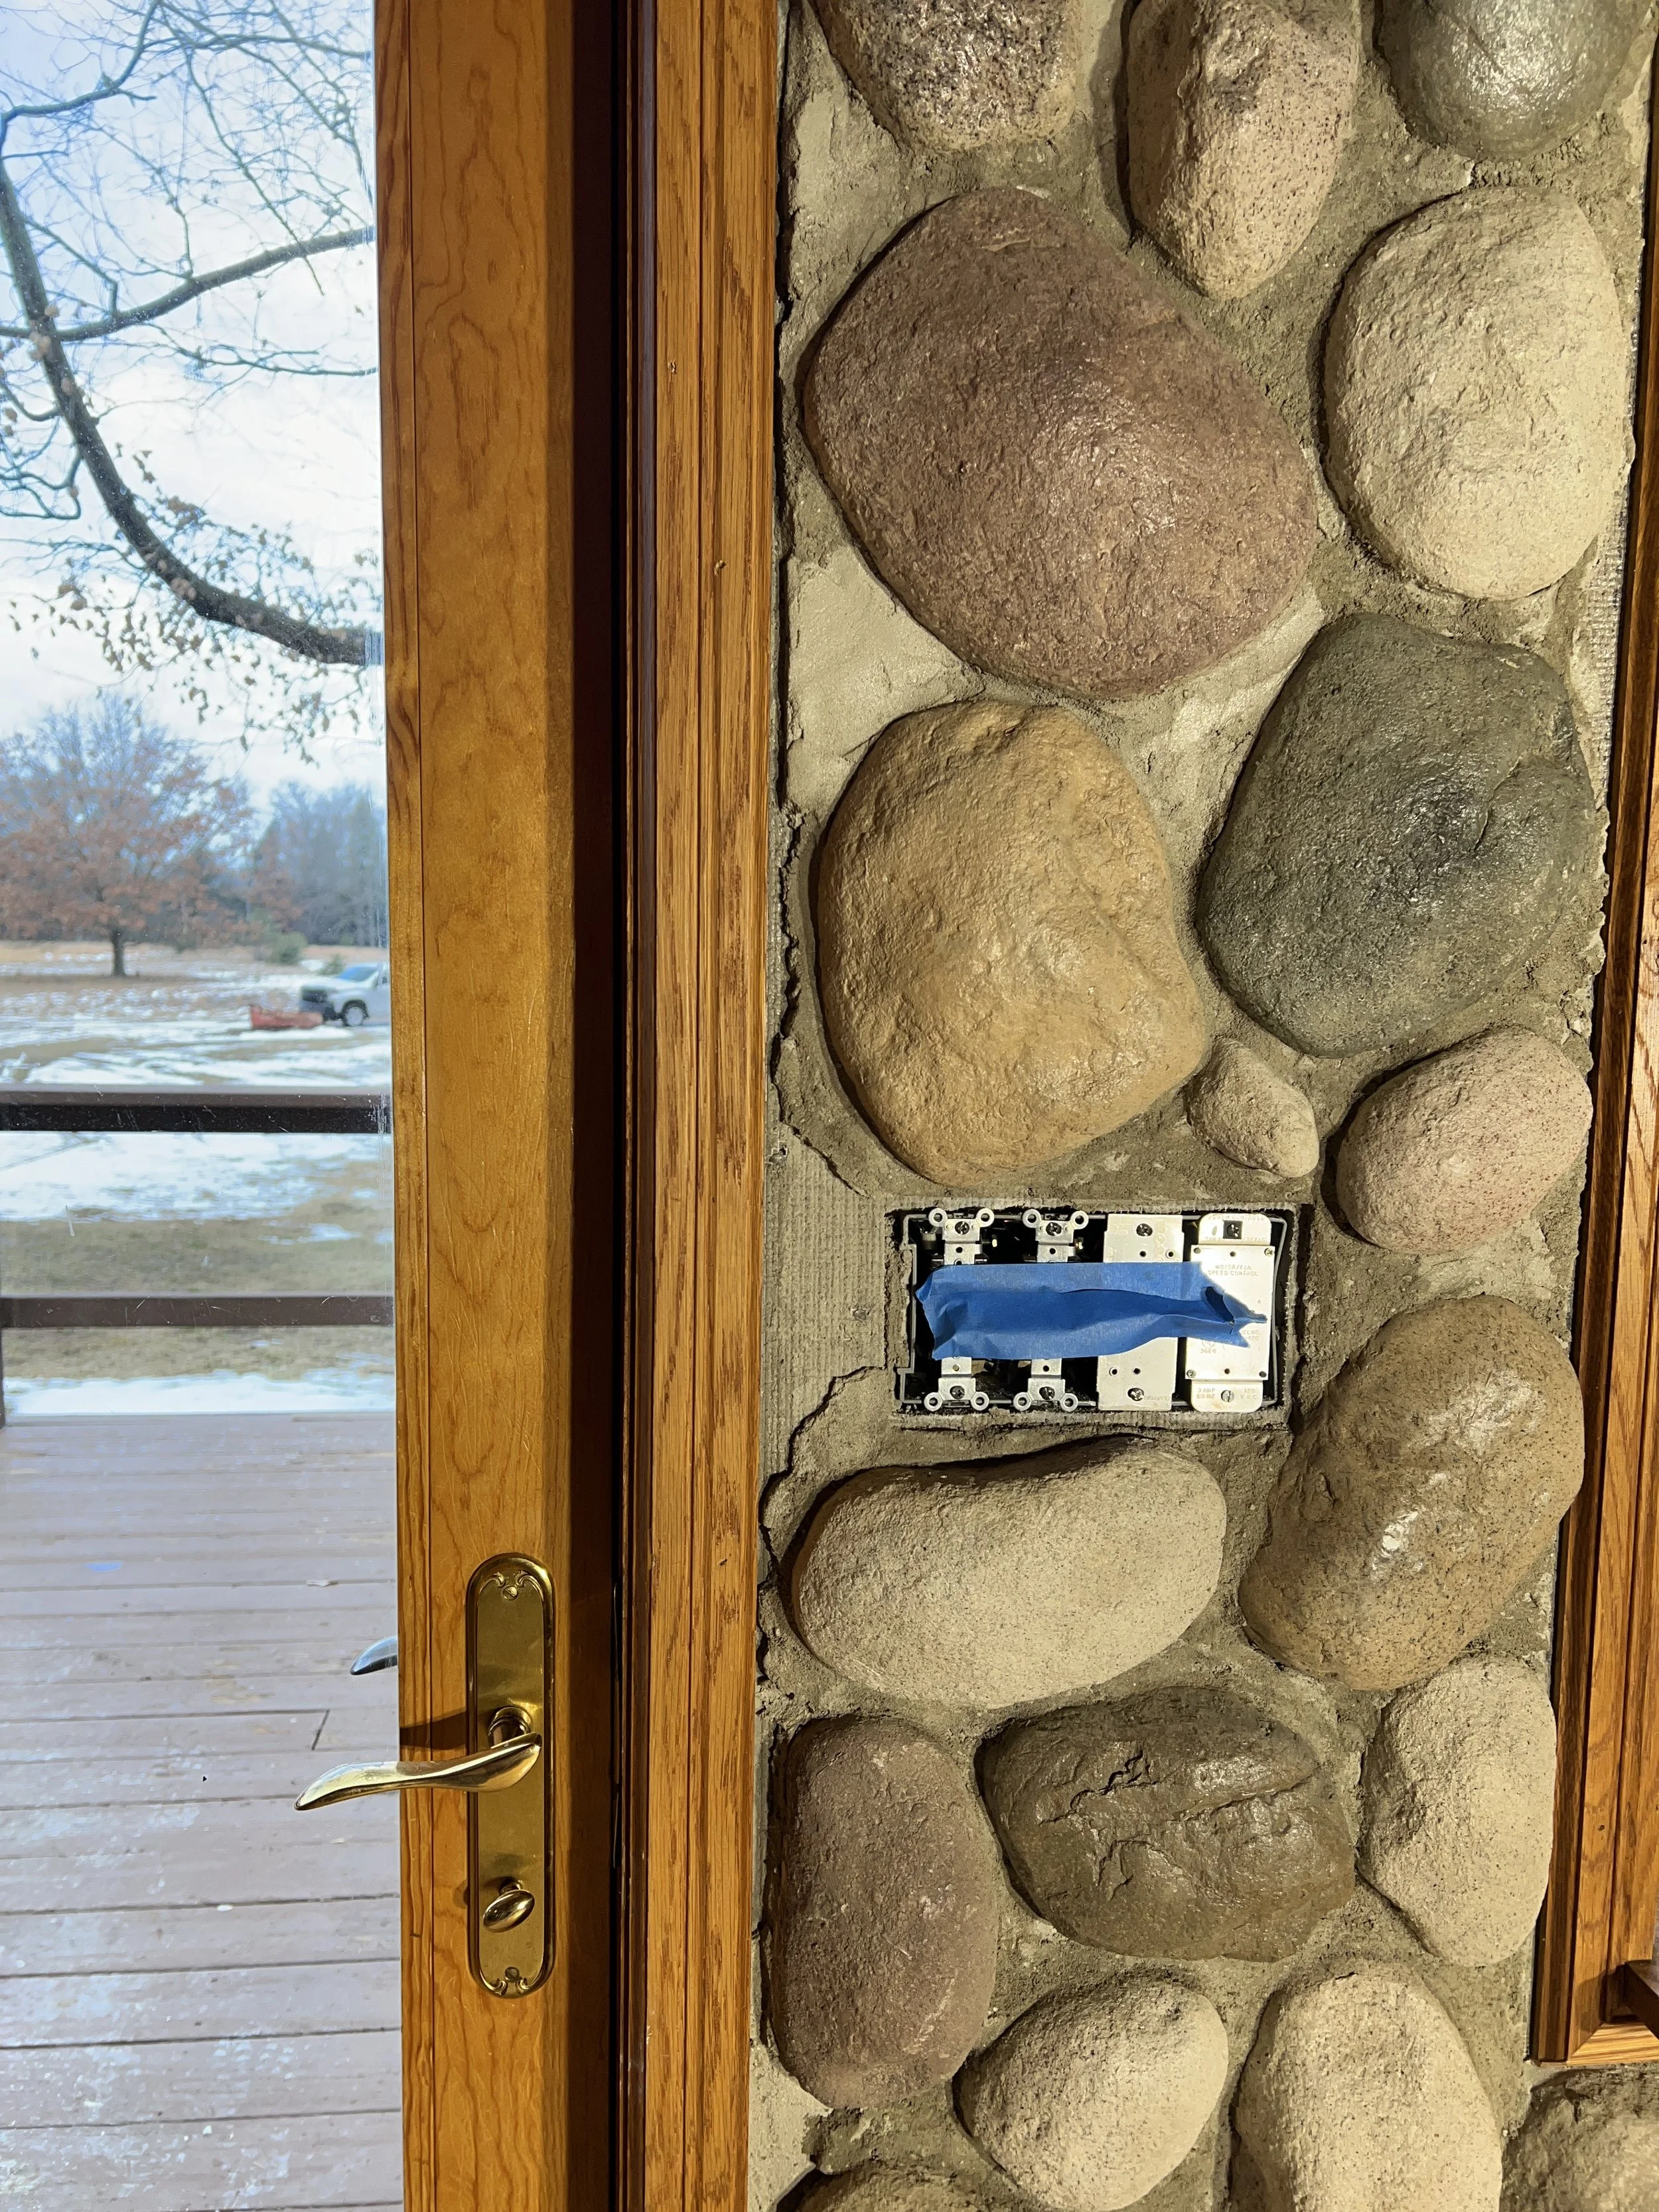
Fixing the concrete:
This was much, much harder than I thought it would be, but in the end totally doable and ended up with a good result that isn’t too far off the color of what was already on there. We used QuickCrete mortar repair, but soon realized we would have to completely ignore the instructions. The instructions stated to build thin layers, but there was no way that was going to match the look of what as already up there. We figured out if we mixed the consistency of the mortar to be almost play dough like, we could create gobs and smush them into the wall with our fingers (the putty knife couldn’t get into small enough spots or maneuver well between rocks), let them chill for a bit and spread from there until we got the desired look. Also, using a spray bottle and not only using it to wet the working surface but occasionally spraying it on top of the newly applied mortar to get a better spread and blend. It was definitely messy and frustrating at times, but the end result was fully worth it. Make sure to clean accidents as you go, and you will have no issue removing the mortar.

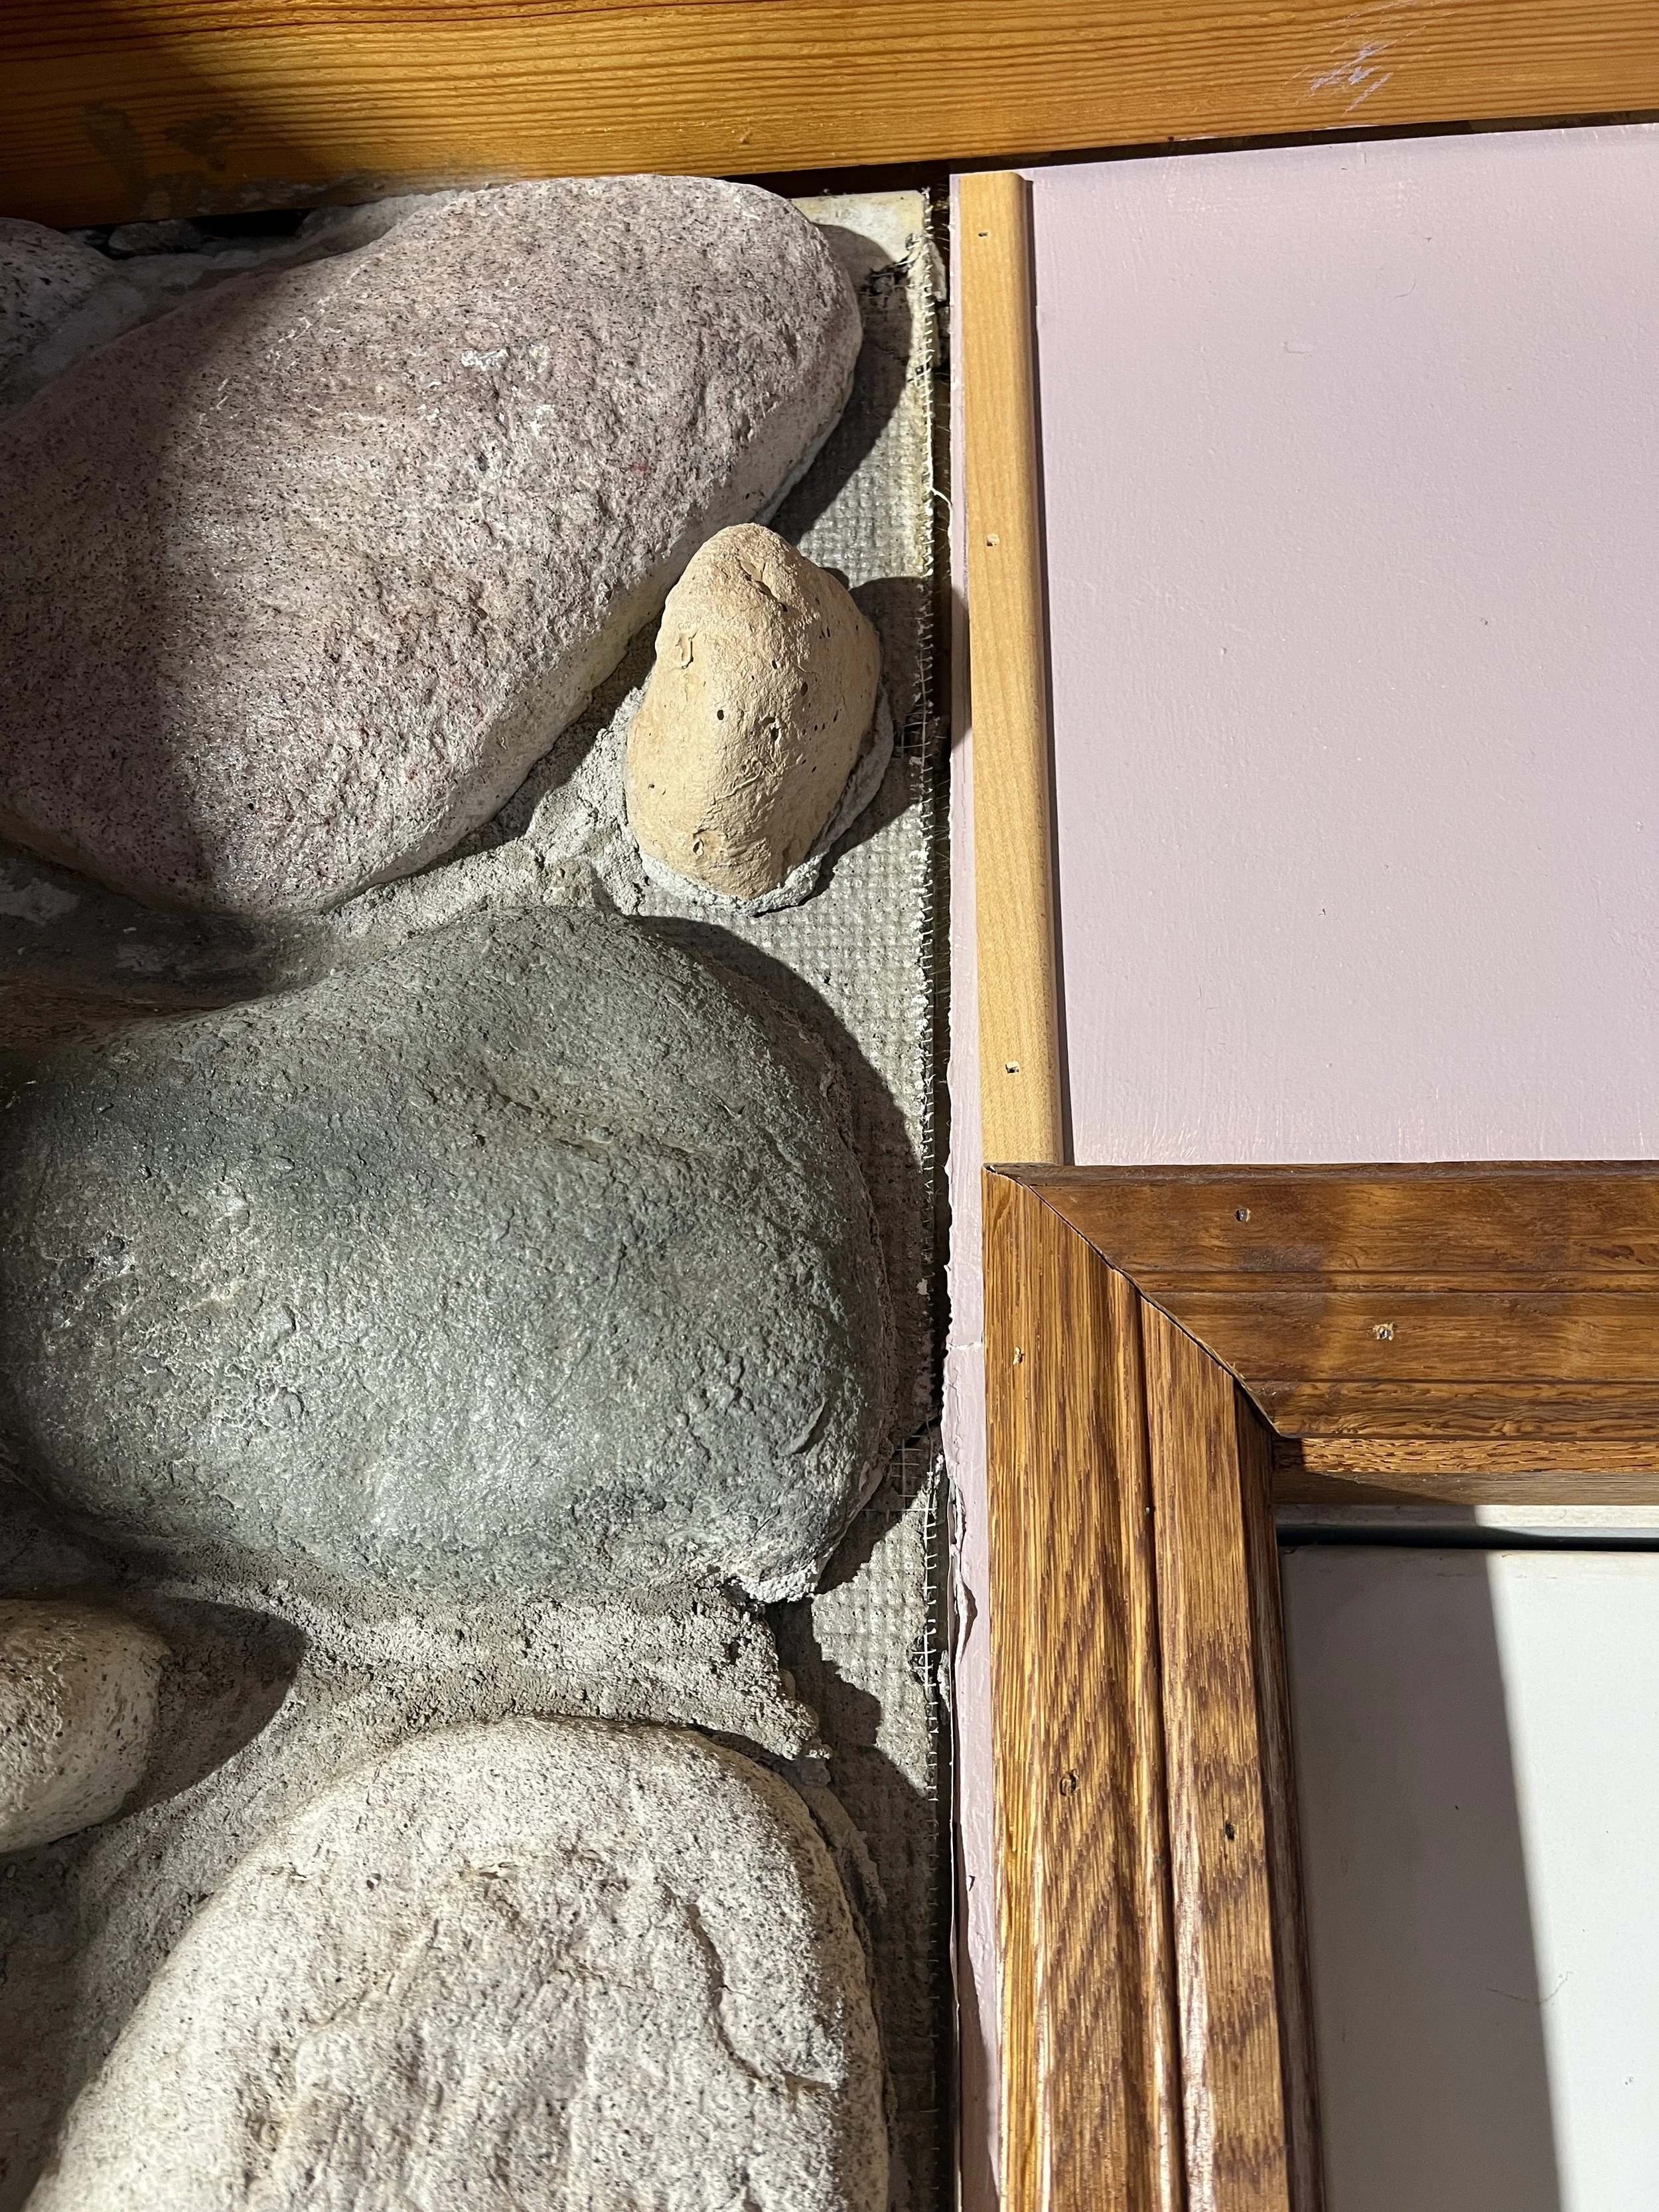
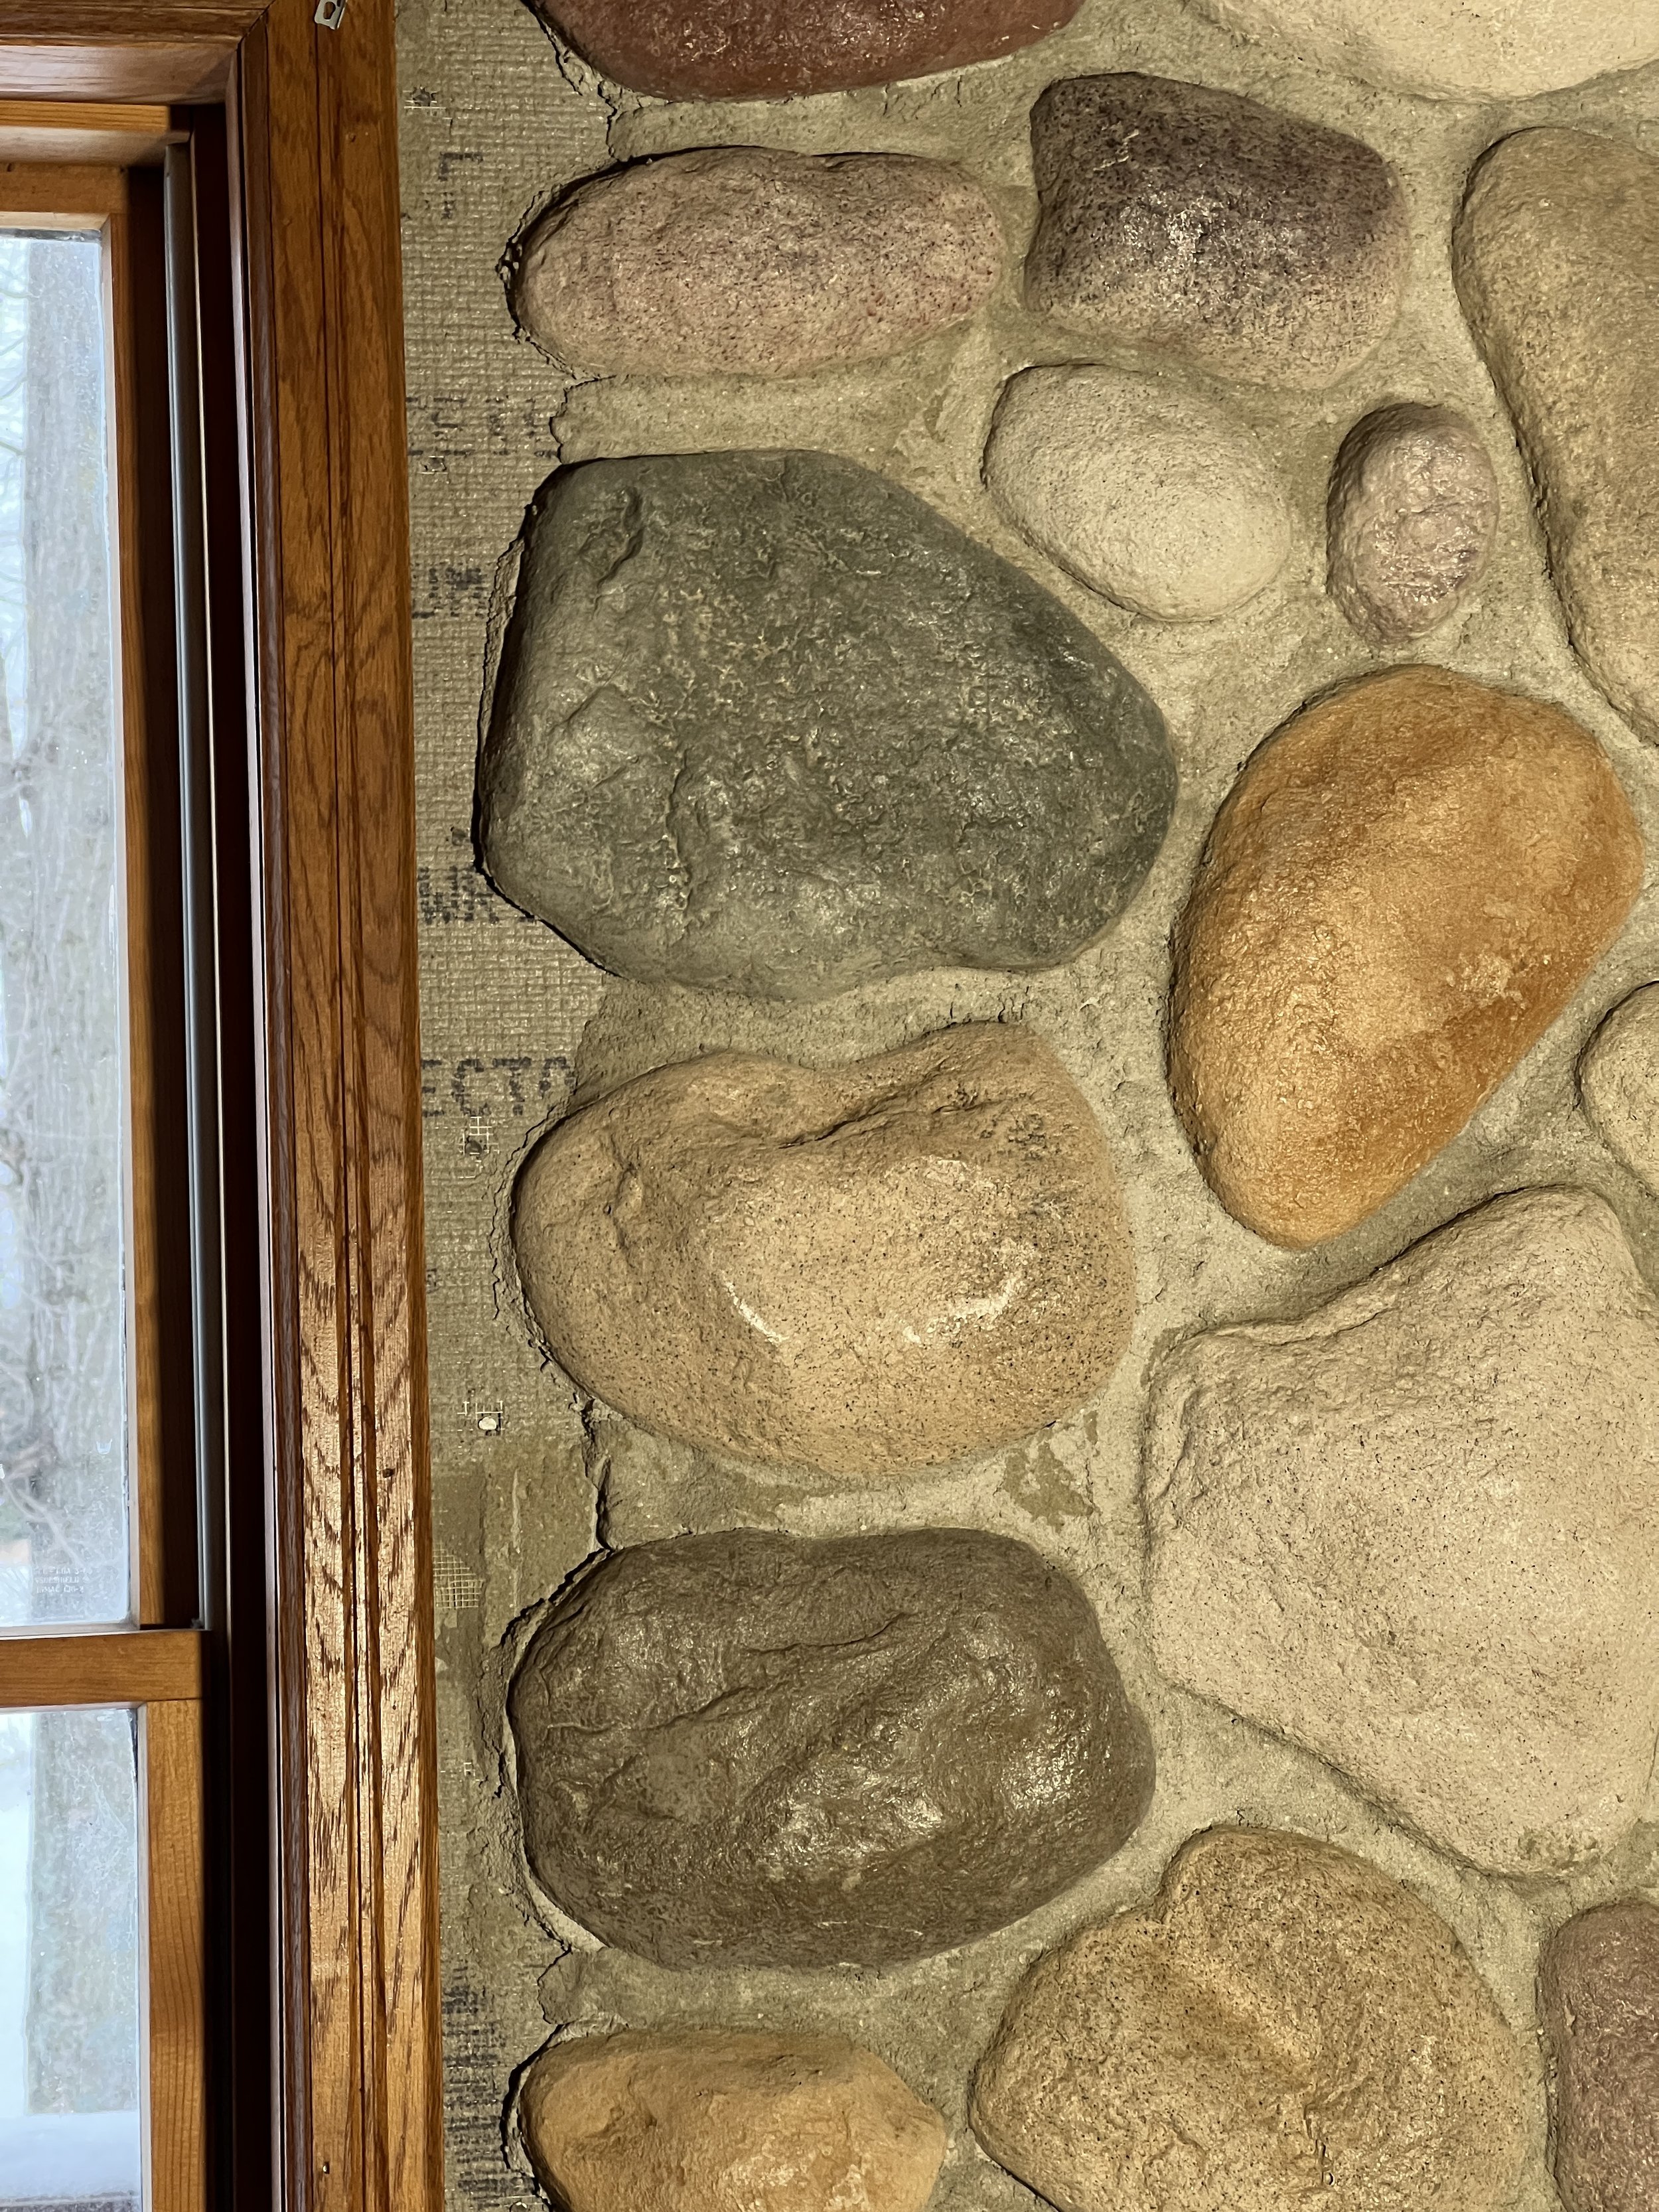
Before

After
After the mortar dried (which took WAY longer than the label said since we did such thick coats) we did a quick clean up, vacuuming over what we just did and nearby rocks.
Now for the fun part! We mixed the Venetian Glaze to around 300% dilution, and used primarily white with a splash of beige. In hindsight, I wish I had gotten more colors so I could choose more carefully which color to paint each rock. For example, the darkest rocks would have been better suited to a lighter gray rather than white. But if it really bothers me I can totally go back and add in more colors in the future on the rocks that stand out to me.
We white washed the rocks only using rather large masonry brushes, and tried to avoid the grout. After we did two coats on the whole wall I realized I wanted more contrast, so I used the Venetian Glaze at its full strength (with a tiny bit of water to make it spread more easily) to create very white stones that contrasted from the rest. This is when I realized I wished I had more colors. I went through and did that with the remaining beige, too, and was totally happy with the end result for now. The more matte finish and muted tones makes me feel more “Bonjour mademoiselle” instead of “howdy y’all”!

Up close with LED flood lamp lighting
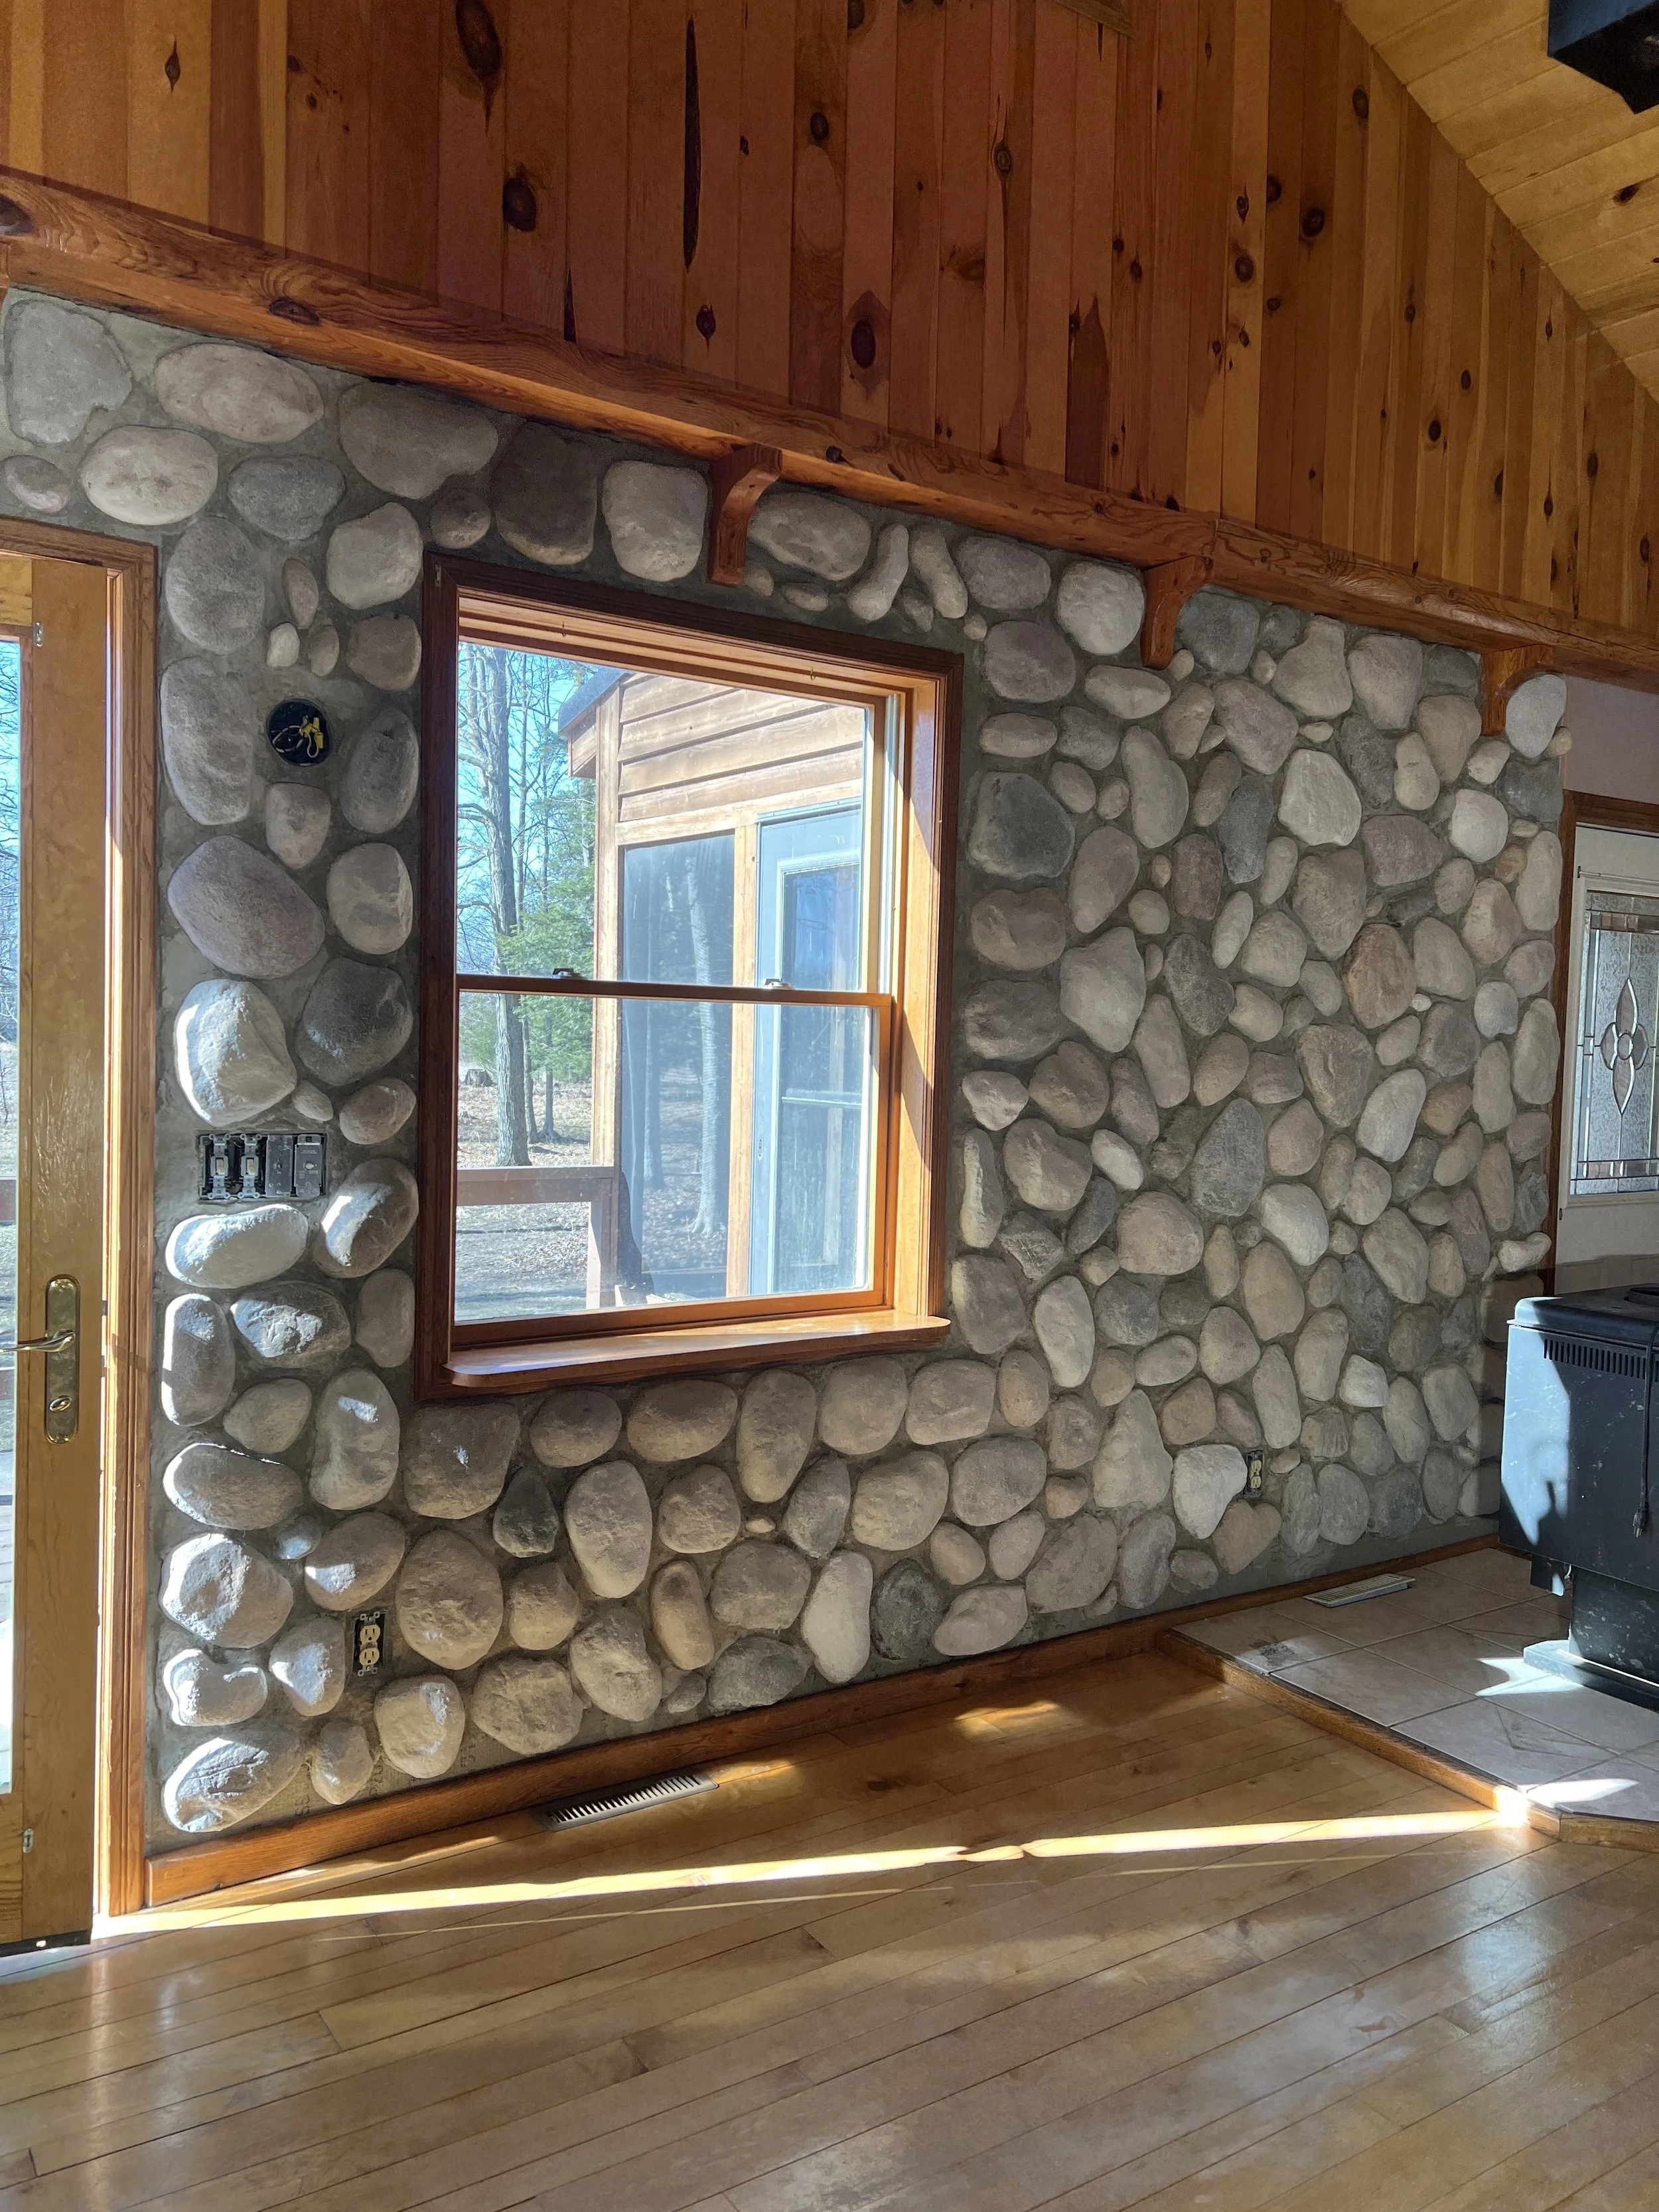
In natural light
What do you think? This is my first DIY blog so let me know if you have any questions on the process, as I know I skipped a lot of parts!